Deploy and invoke a BPMN process
This guide demonstrates how to deploy a BPMN 2.0 process model and interact with it from Spring beans. The tutorial covers:- Modeling an executable BPMN 2.0 process
- Using the Spring Boot Starter auto-deployment
- Creating a process application
- Starting a process instance
Model an executable BPMN 2.0 process and deploy it
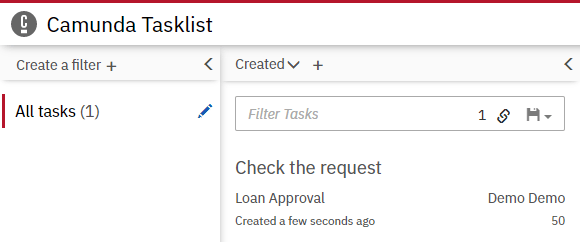
Begin by modeling an executable process using the Camunda Modeler. The process should resemble the loan approval diagram shown below.
src/main/resources and refresh your project in your IDE.
The process automatically deploys on engine startup when saved to the application classpath.
Create a process application
To declare the process application, add the@EnableProcessApplication annotation to your application class and place an empty processes.xml file in src/main/resources/META-INF.
Start a process instance after the process application has been deployed
Listen for thePostDeployEvent to start the process instance automatically:
@Autowired annotation enables dependency injection of ASEE Flow engine services.
Rebuild and test